Protocols for Common Injuries from Police Weapons
:For Street Medics and Medical Professionals Treating Demonstrators
The following guidelines are intended to equip street medics and health professionals to respond to some of the common injuries inflicted by police violence. They are drawn from experience in the struggle against an airport that the French government tried—and failed—to build in Notre-Dame-des-Landes. It can be difficult to find solid information about how to treat such injuries based on real-life experience. Most mainstream health professionals have little experience treating injuries caused by police weapons; this guide shares the knowledge that medics gained in repeatedly responding to these injuries, in hopes of saving others the trouble of having to learn by trial and error. Being medically trained does not qualify you to be a street medic, as the Do No Harm Coalition elegantly states. Street medics gain from sharing information about what works and what doesn’t in a constantly evolving discussion. The red flags listed here can also help injured people identify when their symptoms are serious and when they should seek professional medical attention.
These guidelines are non-exhaustive; there are many things that are not included here. For instance, the police deployed thousands of tear gas canisters and flash-bang grenades on the ZAD during April and May 2018, but relatively little pepper spray. The focus here is on the protocols have been tested extensively. We prepared this translation in solidarity with the current uprising, sharing this information in hopes that it will be useful to street medics in the US.
What follows is not a do-it-yourself guide. Your local area or nearby large city likely has a street medic collective—find them! Medic collectives sometimes do trainings for new medics. Many of the practices detailed here require extensive knowledge and experience—and can really hurt someone if done wrong. Please don’t jeopardize the health of others by claiming experience you don’t have or trying to practice outside of your scope.
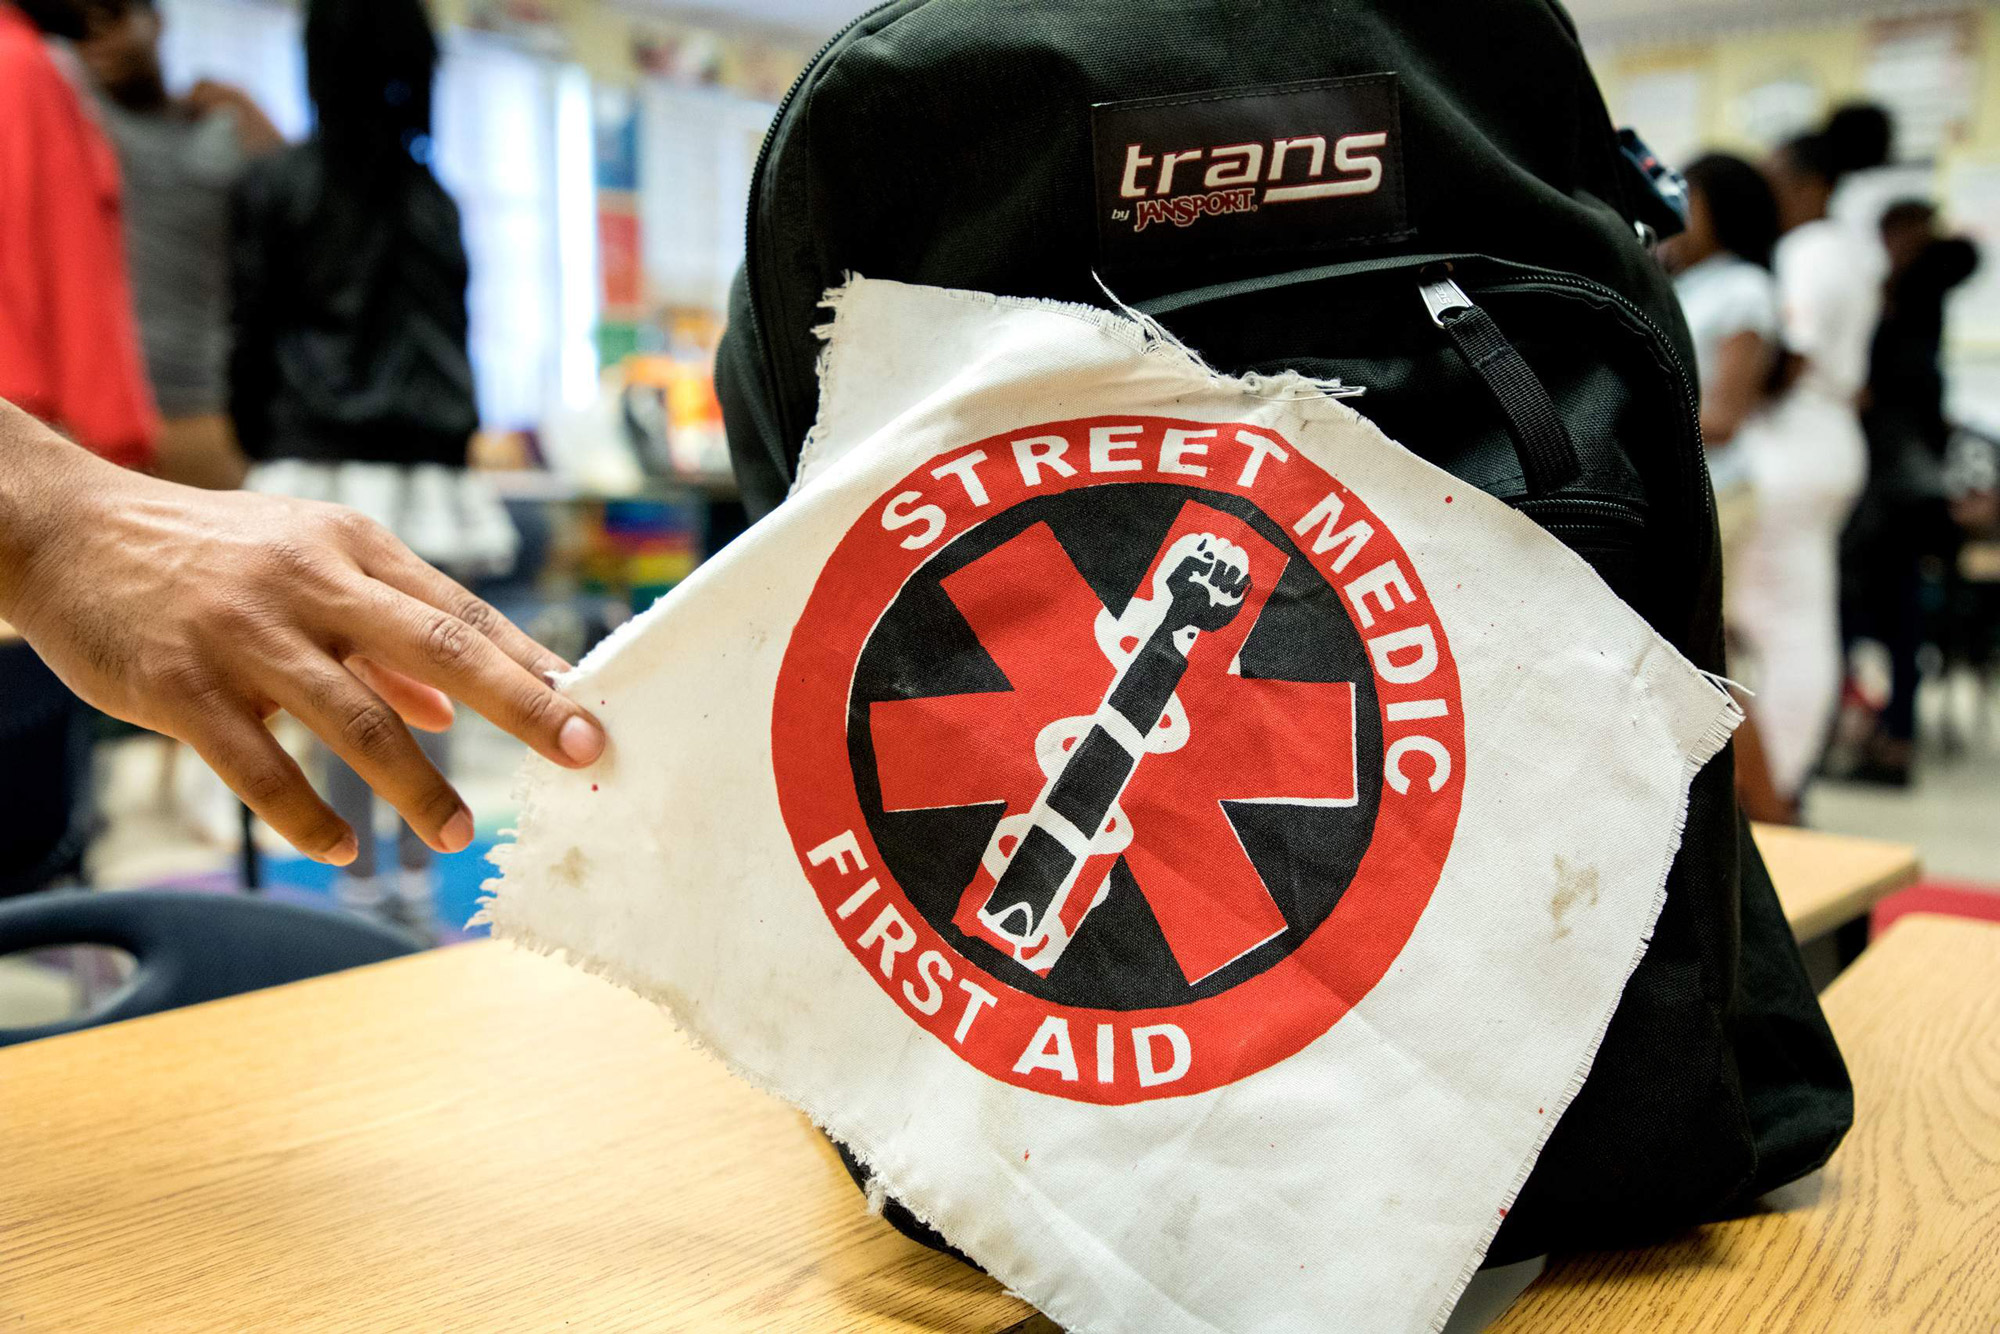
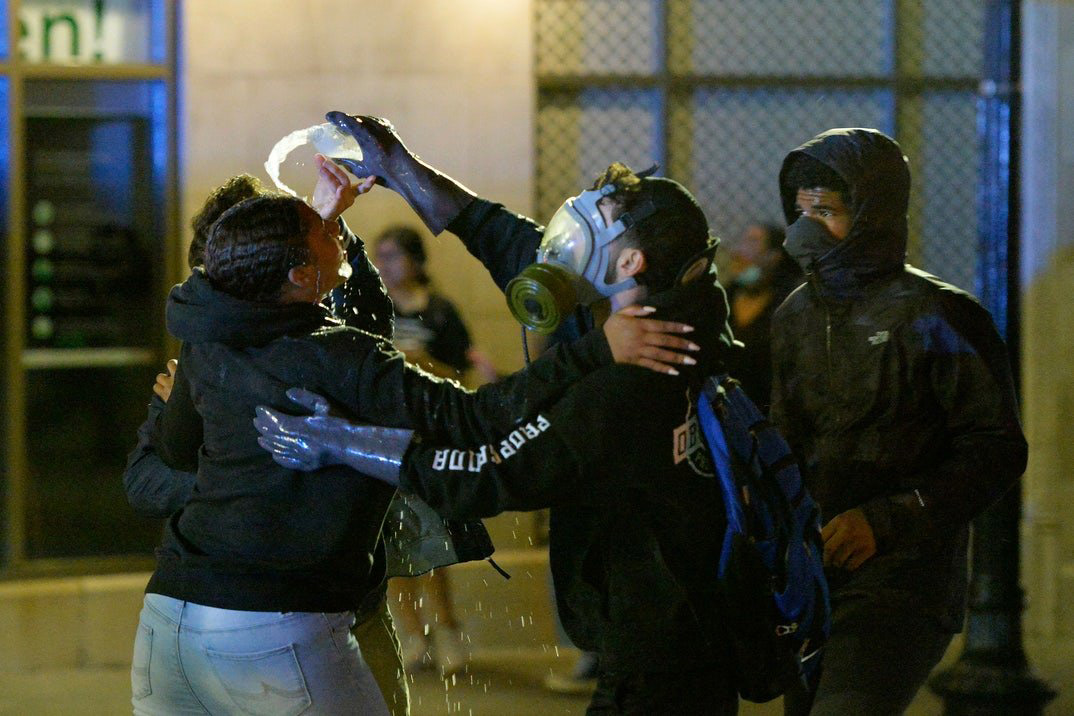
The title photograph is from Ujimaa Medics. Founded by Black women in Chicago, they train communities for urban emergency first response.
While the best way to learn how to be a street medic is from street medics themselves, here are some sources for more information about the history and practice of street medicine—from its inception as a self-defense tool during the Civil Rights Movement to its use in the recent uprising in response to the deaths of Black people at the hands of a system of brutal, racist policing.
Always prioritize sources that are up to date and use evidence-based practice.
- A Brief History of Modern Street Medics
- Street Medics: Keeping Our Movements Healthy and Safe
- Where to find your local medic collective—This is not always up to date, but offers a good starting point.
- Rosehip Medics, a long-running medic collective, offer a variety of information on their website—from “Health and Safety in an Insurrection and Pandemic” to free brochures about alternatives to Emergency Medical Services.
- Paper Revolution explains some ways to become a street medic and offers links to more detailed practical information, such as their Street Medic Guide or the Riot Medicine Guide.
A recent video training by a coalition of medics about how to stay safe and healthy in the streets.
The Origins of These Protocols
The following protocols were written by the ZAD healers group, an interdisciplinary team of nurses, doctors, street medics, herbalists, psychologists, naturopaths, and energy workers who were part of a larger network of healthcare workers involved in the struggle to defend the ZAD (Zone à Défendre, “Zone to Defend”) at Notre-Dame-des-Landes.
In their words:
During the evictions of autumn 2012, a number of healthcare professionals came to support the medics on the ground. Over the years, we have worked together to prepare logistical and communications strategies, and to have the materials necessary in the case of eviction attempts or other police intervention. We also have regular discussions, and regular reciprocal trainings.
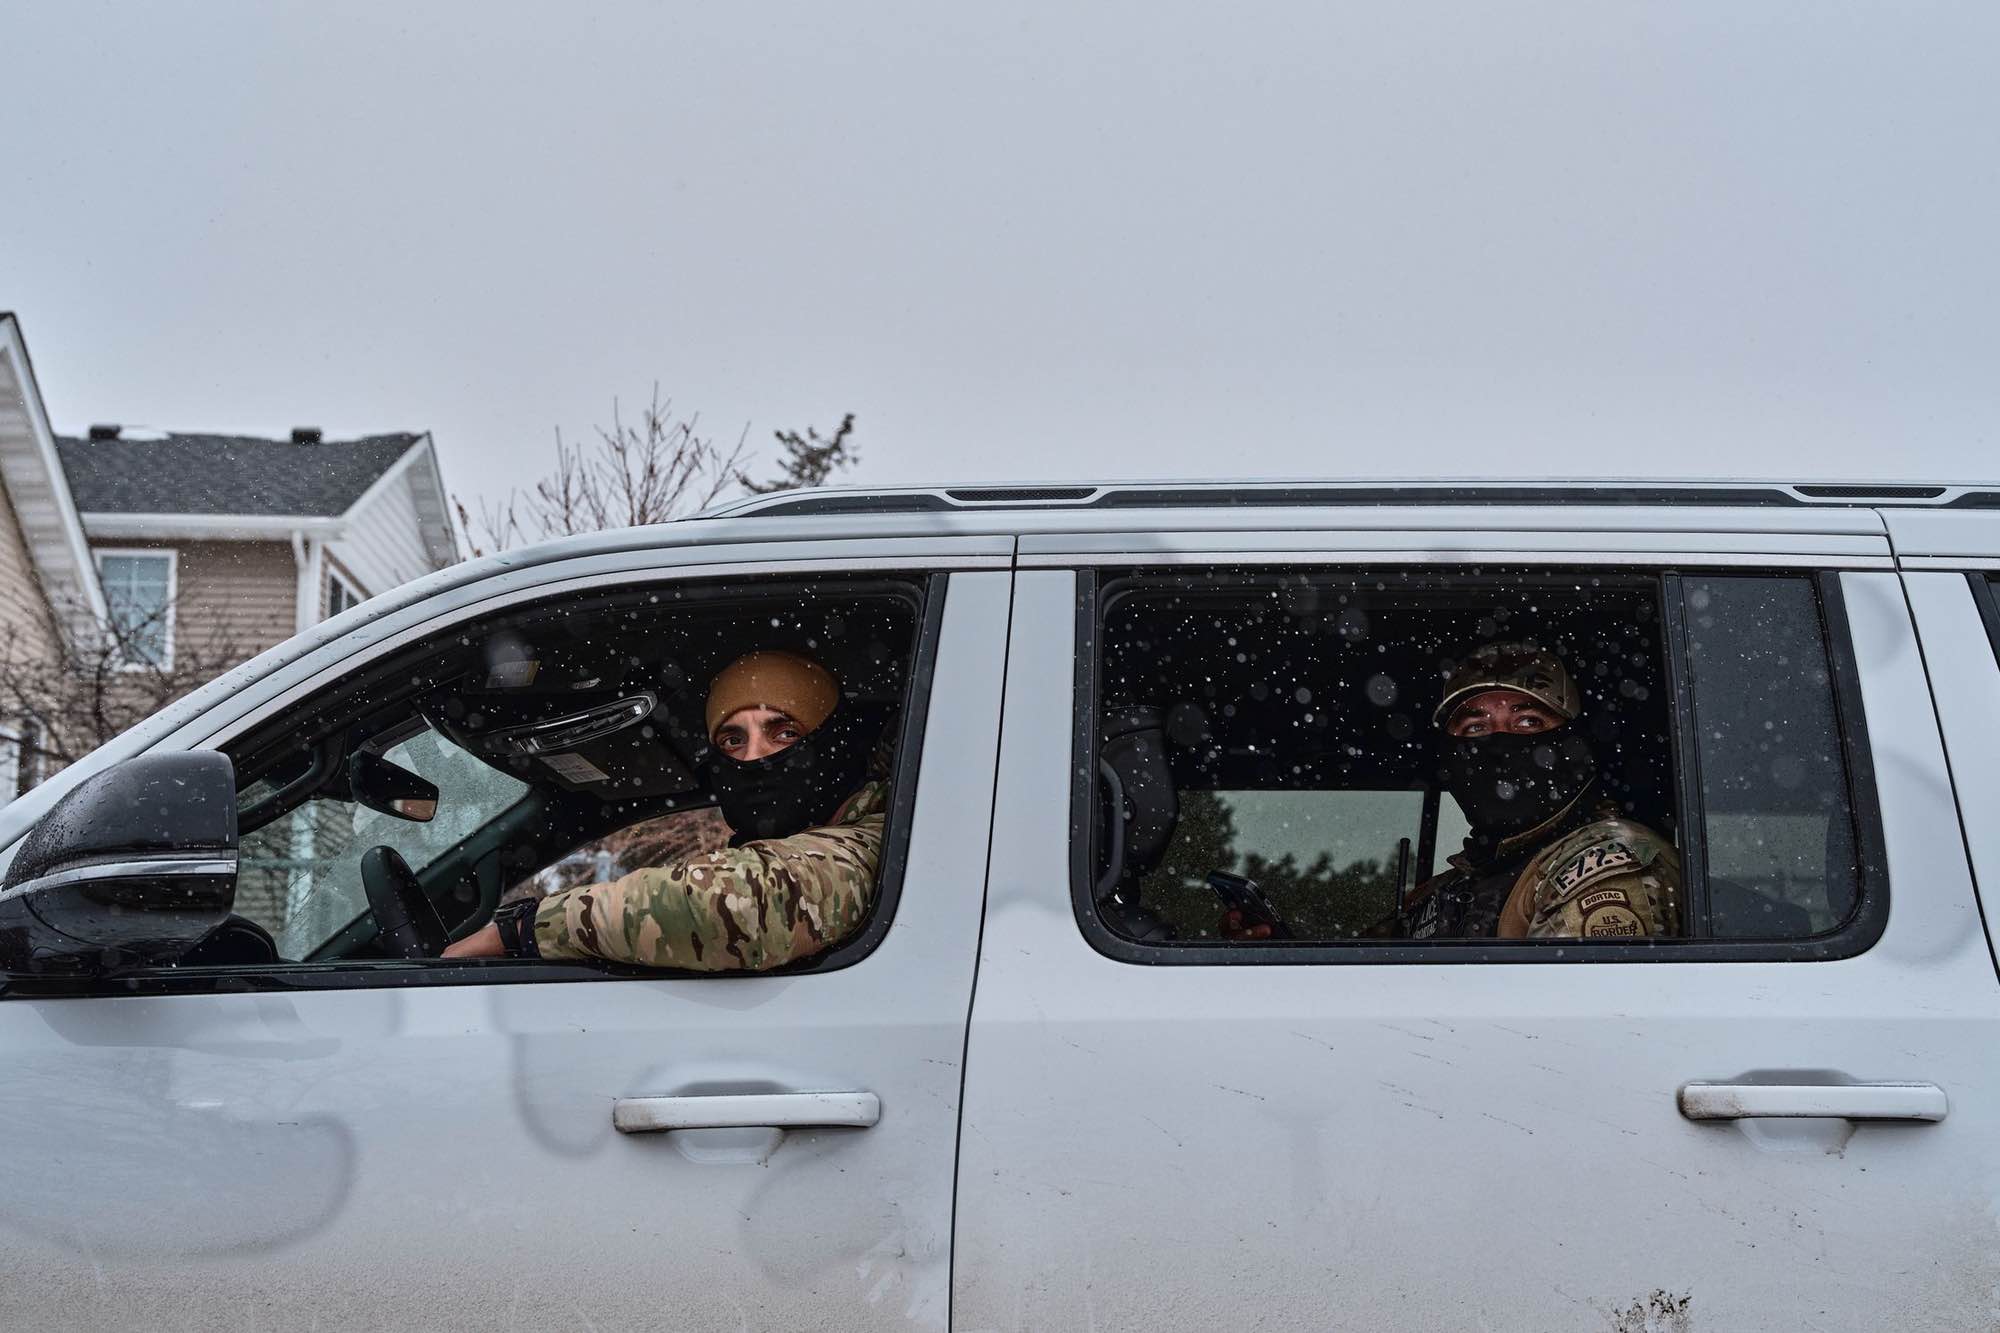
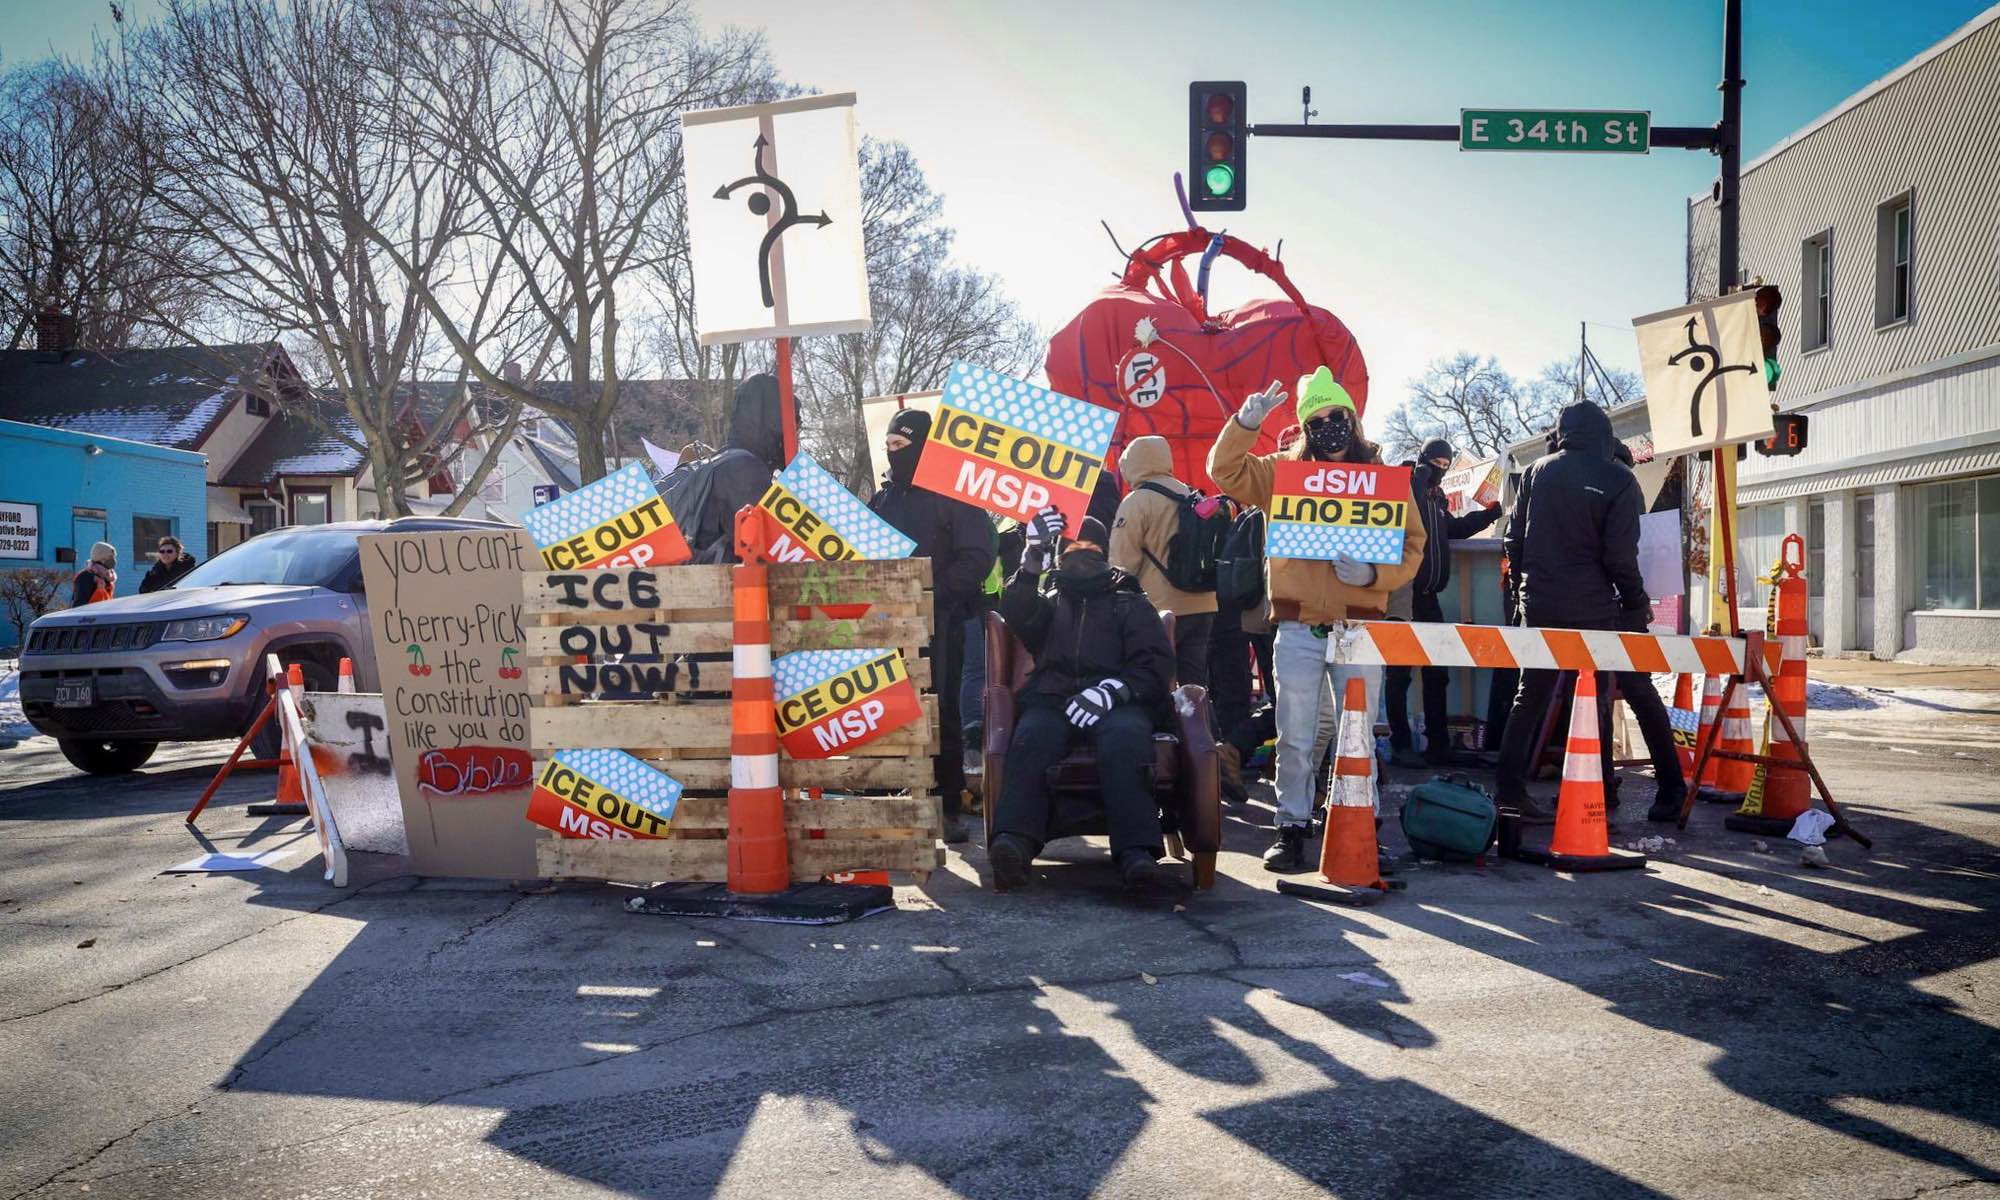
As soon as we turn our dissent into concrete action, or block the smooth functioning of the corporate economy, repression quickly follows. Whether for the duration of a protest or because we live in the wrong neighborhood or because of the color of our skin, when we are labeled “undesirable” or “radicals,” the State hurts and kills us via its law enforcement.
Conscious of these risks, in many countries revolutionary groups and activist movements have developed their own medical support networks for demonstrations or direct actions. This practice differs from humanitarian groups like the Red Cross, because we don’t pretend to be neutral. We take a clear political stance and an active role in the conflict and in the support that we bring to our comrades in struggle.
In a demonstration, street medic teams try to be present on the scene as early as possible to be able to provide emergency care to people who ask for it, and to evaluate the needs of the situation before an ambulance arrives, which is sometimes blocked or delayed by the police. There is also an assessment of the legal risks involved in resorting to official emergency care: for example, the risk of identity checks and arrests inside hospitals targeting those who are undocumented, who have outstanding warrants, or simply because the fact of being wounded makes someone a suspect.
The police regularly update their equipment dedicated to repression with new chemical, electrical and physical weapons. As street medics, we try to respond by spreading defense techniques developed on the ground and shared across the world for prevention, protection, and healing.
For us, medical knowledge comes with a political reflection on how we put it into practice, to avoid reproducing the relationships of domination, management, and dispossession that characterize the medical institution. As street medics, we want to make the consent of injured people a priority and give them the information they need to make clear and informed choices for themselves.
-Excerpt from a declaration of the ZAD street medics, 2015. (Published in print; not available online.)
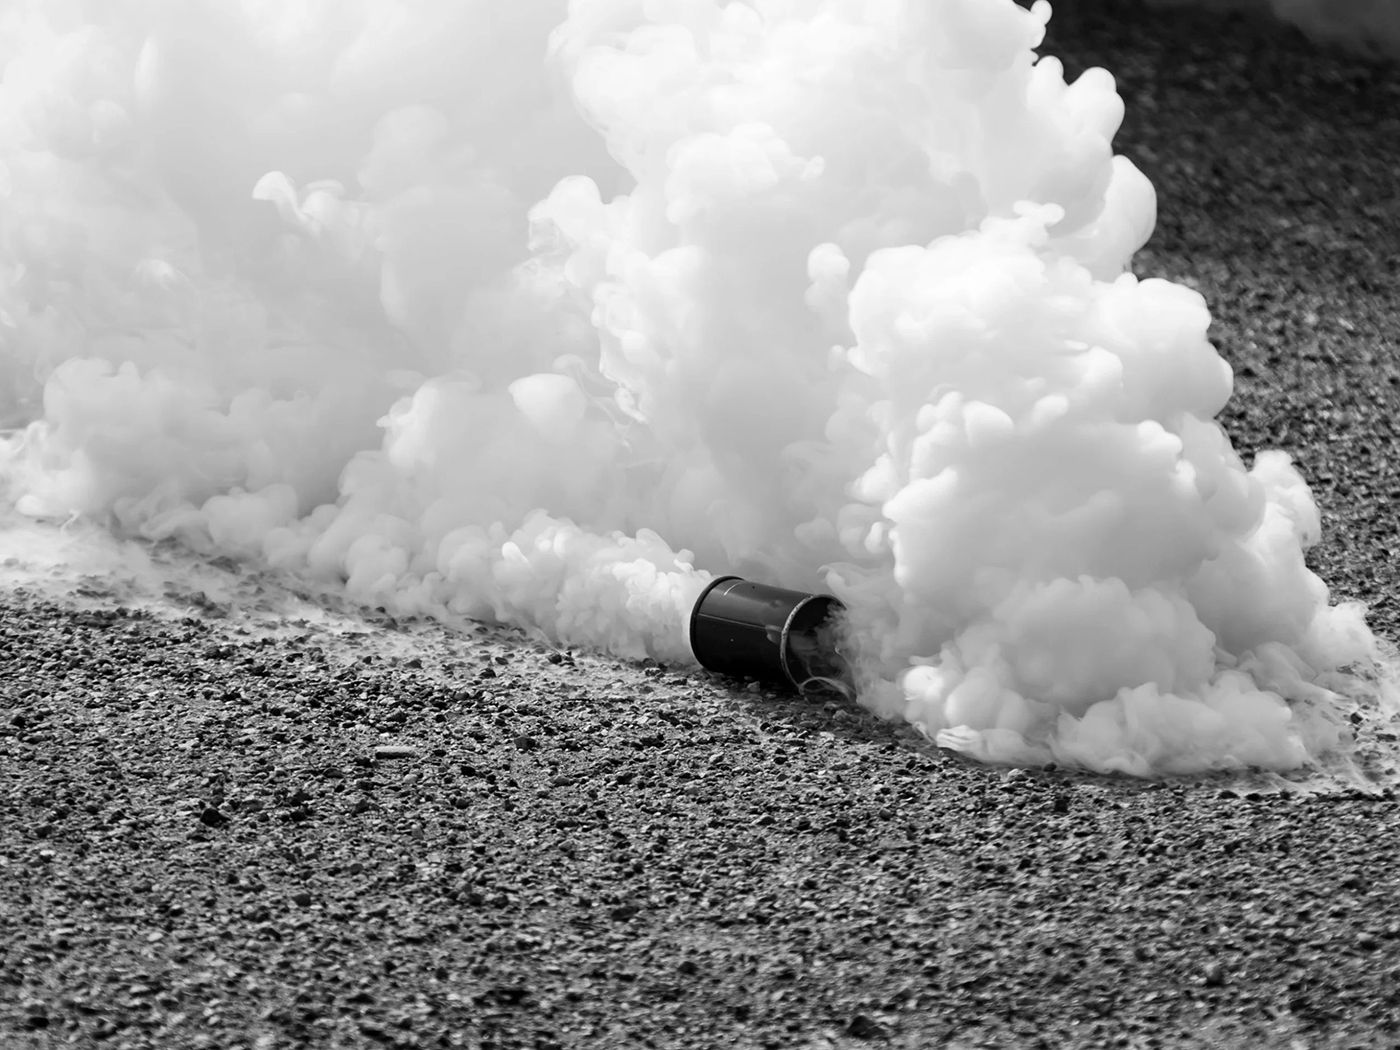
A tear gas canister.
Non-Exhaustive Protocols for Common Injuries from Police Weapons
The following protocols were written after the most recent eviction of the ZAD in 2018, during which medics set up a parallel system of emergency care as police blocked ambulances with tanks. These protocols were based in access to specific resources and skills and knowledge; they have been edited for clarity and context. Many of these protocols presume the ability to access medical care and transfer to a hospital as a backup option. The US does not have universal healthcare (yet). If you lack health insurance but have relationships with healthcare workers in your community, please reach out to them for resources or work with the people around you to find other ways to get the care you need.
These guidelines are written for trained street medics and healthcare workers to respond to police violence. They are not a substitute for medical treatment or diagnosis. Please do not practice outside your scope!
I. Chemical Agents
Also called CS, CN, or CR gas, tear gas is an aerosol that acts as a respiratory system irritant. Pepper spray is a red oil-based substance containing capsacin, derived from peppers, that is sprayed directly onto the skin and eyes.

A. Tear Gas
i. At low concentrations
—Symptoms: skin and eye irritations and burns
—Treatment: Rinse as much as possible, with water pressure or gentle friction.
- Eyes: rinse with saline solution (water + salt, 9 grams per liter). It doesn’t need to be sterile.
- Skin: mix 90% water, 10% Maalox, or water with 4% baking soda. If you don’t have access to those, plain water will serve for tear gas.
—Tear gas can cause trouble breathing or provoke asthma attacks. For people with asthma, employ Albuterol, or even oral prednisone (by an experienced medic) if they are out of breath. Avoid tear gas for several days afterwards.
ii. At high concentrations or with frequent repeat exposure
—Can result in disability or other neurological symptoms: nausea, vomiting, intense headache, confusion. In these presentations:
- Rule out concussion!
- Learn the mechanism of the injury. What happened? Gas? Sound blast from a grenade? Impact to the head? Fall? Ask the injured person and witnesses.
- Did they lose consciousness or do they remember everything?
—For pain: Ibuprofen
—For moderate nausea and vomiting: oral or suppository anti-nausea medications such as Metoclopromide (Ondansetron and Promethazine are more widely available in the US). Ginger chews and peppermint or chamomile tea also help.
—For severe vomiting and inability to keep liquids or medicines down (risk of dehydration): refer to hospital for IV fluids and observation.
—For intense confusion: Nothing by mouth. Place injured person in the recovery position and call for an ambulance.
Make sure people know to wear thick leather or specifically heat resistant gloves (such as barbecue gloves) before picking up or touching tear gas canisters to avoid burns.
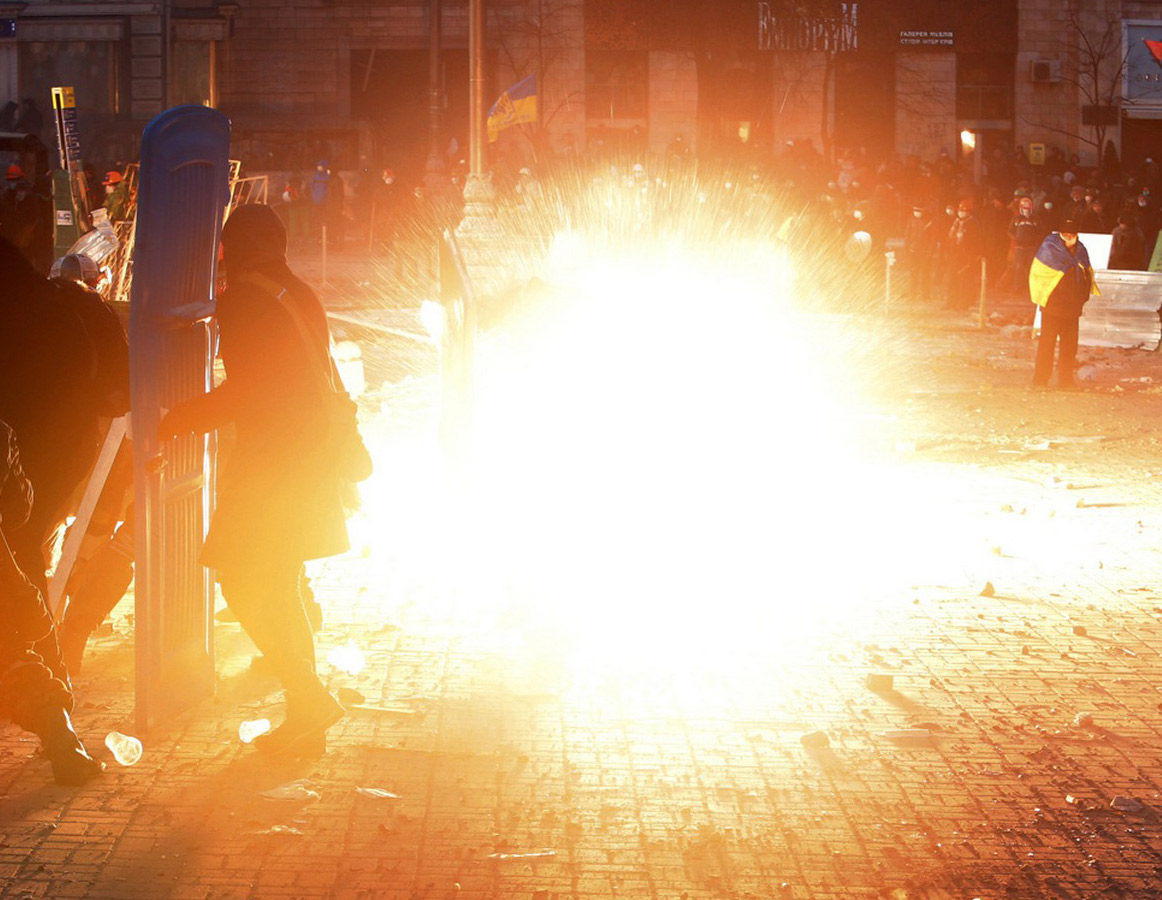
Concussion grenade exploding.
II. Concussion Grenades and other Explosive Devices
A. Blast Wounds
Blast wounds mainly damage the ears.
i. Tearing of the eardrum
—Occurs infrequently in our experience. Not an emergency.
—Symptoms : pain, bleeding from the ear, temporary reduction in hearing.
—Treatment: Examine the ear with an otoscope, ideally within 24 hours. A torn eardrum heals itself in 2 weeks.
—If a medical exam is possible, an eight-day course of antibiotic drops (ofloxacine otic) can be offered preventatively to avoid infection of the middle ear and adjacent area (behind the eardrum). In any case, follow-up with Primary Care in 10 to 15 days is ideal for otoscopy and referral to ENT specialist if there is persistent anomaly.
ii. Blast injury to inner ear
—Occurs frequently in our experience.
—Symptoms: pain, ringing in the ears (tinnitus), loss of hearing, vertigo, or dizziness.
—Ringing in the ears does not come from the eardrum, but from the inner ear! Hearing loss is the guiding factor for treatment (not tinnitus).
—Simple hearing test: rub your thumb against your other fingers next to the person’s ear. Ask them if they can hear, and do the same thing on the other side.
—Treatment: If hearing loss persists for 24 hours after the blast, make an appointment with an ENT (ear, nose, and throat) specialist as soon as possible. To avoid or at least limit permanent hearing damage (resulting from the death of cells in the inner ear), a steroid may be indicated: prednisolone in the ear (0.5mg at 1mg/kg/day for 2-3 days) is the most common prescription.
iii. Blast injury to lungs
—Occurs rarely in our experience
—Symptoms: Difficulty breathing in the days following impact.
—Treatment: Emergency. Pulmonary edema requires hospitalization. Air embolisms caused by blast injury to the lungs can cause seizures, strokes, and/or permanent brain damage when air bubbles pass from the lungs to the blood and enter the brain.
iv. Intestinal blast injury
—Occurs rarely in our experience.
—Symptoms: Abdominal pain, blood in stool (hematochezia) in the days following impact can indicate bowel perforation. Fever and abdominal distention (hard stomach) can indicate peritonitis.
—Treatment: Both of these are medical emergencies and require hospitalization!
v. Remember!
—Shelter the person from additional noise.
—Do not hesitate to contact emergency medical providers if there is any impact on cognitive function or damage to organs.
—ENT specialist consultation for blast injuries to ear is suggested within 24 to 48 hours.
—Observe people with blast injuries for several days. Symptoms indicating complications may be delayed, such as changes in hearing, breathing, and abdominal functions.
B. Shrapnel wounds
Shrapnel wounds occur frequently in our experience. Shrapnel is often plastic; sometimes it is metal. On impact with pavement, concussion grenades can propel dirt and asphalt alongside shrapnel; this increases the risk of infection. Sometimes entrance wounds are small, even tiny. Sometimes they are large and obvious. Shrapnel injuries are serious even if they don’t look like a big deal. Examination, observation, and follow-up are vital.
NEVER approach or pick up a canister that is not yet smoking. It may be a concussion grenade with the capacity to blow your hand off. (This has happened both on the ZAD and in the Gilets Jaunes protests).
Examine and evaluate the breadth and depth of the wound before rushing to bandage it!
Treatment by area of injury:
i. Thorax, abdomen, face
Emergency: potential risk to life. See an experienced medic. Evacuate and evaluate respiratory/neurological/cardiovascular system distress and the extent of bleeding.
ii. Extremities
Check for:
—Damaged joints.
—Nerve damage. Nerve damage requires immediate hospitalization! Check pulse, movement, and sensation above and below the wound; compare the limbs next to each other for reference. Look for paralysis, weakness, or range-of-motion difficulties. Numbness, tingling, or pins and needles indicate nerve injury.
—Damaged tendons:
- Especially on hands and feet
- Occurs frequently with wounds on the back side of the hand (the side with the fingernails).
- Symptoms/Signs: Visible tendon injuries at the bottom of a wound, or suspicion of a tendon injury based on anatomy.
- Normal range of motion does not mean there is no damage to the tendons.
- Treatment: See an experienced medic if a tendon injury is suspected. Surgical intervention may be required within 24 hours to avoid risk of rupture.
Remove shrapnel based on size. All large pieces must be removed.
i. Large foreign body in a large wound
—Occurs infrequently
—Treatment: See an experienced medic who can refer patient to a hospital or remove the foreign body and close the skin, employing excellent knowledge of anatomy and controlling the risk of infection with follow-up care and prophylactic antibiotics.
ii. Small puncture wound that looks benign but with an unknown depth
—Occurs frequently.
—Treatment: Clean, bandage, and follow up. If there are many obviously shallow pieces of foreign object (like road rash), honey dressing can draw them out without physical removal. Monitor closely for infection.
Localized treatment:
- Direct compression will stop bleeding the majority of the time.
- Every open wound requires basic hygeine! The medic must wash their hands with soap and water, and wear medical gloves that they change between each person.
- Scrub with Betadine soap (the red kind) as soon as possible : some puncture wounds from shrapnel are not immediately visible.
Cleaning and drying:
—Wash wound with soap and water before you do anything (or with sterile saline solution if soap and water are not available).
—Follow with hydrogen peroxide, which has the advantage of foaming and can sometimes draw out little pieces of shrapnel.
—If the foreign body is small or difficult to see, use sterile forceps but don’t tear at it or make it worse! It’s not a big deal if it stays in, but it’s usually worth trying to remove it. The body will either reject small pieces naturally, like a splinter, or create a buffer around them. The damage is done when shrapnel enters the body; the additional risk is infection.
- Use sterile medical tweezers. Normal tweezers (for removing hair) are too big and tear the flesh.
- A magnet can help remove metal shrapnel. Pull the shrapnel back through the path of entry—otherwise, you may create a new wound!
- If it’s too painful, use local anesthesia such as lidocaine spray in the bottom of the wound.
Disinfect with antiseptics:
—Remember: if an antiseptic bottle is open for over a month, dispose of the bottle. Mark the date on the bottle upon opening. Prioritize smaller bottles to avoid expiration.
—Yellow Betadine, povidone iodine. (Use red Betadine first if washing with soap and water is impossible.) It exists in individual doses too. Iodine allergies don’t apply to Betadine.
—Chlorhexidine is good, such as one-time-use Dosiseptine, but not Biseptine (alcohol-based) because it stings.
—Diluted sodium hypochlorite (Dakin’s solution) works well but has to be diluted at 50% in sterile water, so it is impractical. Alcohol is efficient but burns a lot.
—For puncture wounds: Disinfect surface and interior. Use an antiseptic syringe without a needle. Put the end of the syringe inside the wound before injecting. Don’t use hydrogen peroxide for this.
Bandaging:
—Approximated wound with controlled bleeding: dry bandage, gauze compress, elastic bandage.
—Wounds oozing blood or pus: Consider an absorptive cushion like hemostatic packing, followed by a compress and bandage on top.
—If moderate bleeding or unapproximated wound: use clean raw honey (not the corn syrup kind), Neosporin, or tulle gras, then compress and bandage.
Dressing changes:
—Every 24 hours at the beginning (depending on severity), then every 48 hours.
—Rinse with saline solution. Don’t reapply antiseptics, as this can delay healing.
—Prevent secondary infections. These occur frequently with shrapnel wounds! Signs of infection include redness, inflammation, pus and weeping, or fever. Get an experienced medic’s advice and local or oral antibiotics for 48 hours after injury.
—Abscesses may necessitate x-ray, ultrasound, or surgical consultation depending on the wound.
To pass on to injured people: If you experience fever, chills, stiffness, redness, wetness around the wound, red plaques or streaks on the skin, or a neurological or motor deficiency, consult a doctor, medic, or go to an emergency department immediately.
Takeaways for shrapnel wounds:
Don’t dig too hard to get out small pieces.
Assess immediately for nerve or tendon injury.
Monitor for signs of secondary infection for several days.
III. Rubber bullet injuries
Rubber bullet injuries often leave a big bruise. Check for other lesions! If you suspect trauma that will necessitate surgery, do not give them anything by mouth. No drinking, no eating, no smoking.
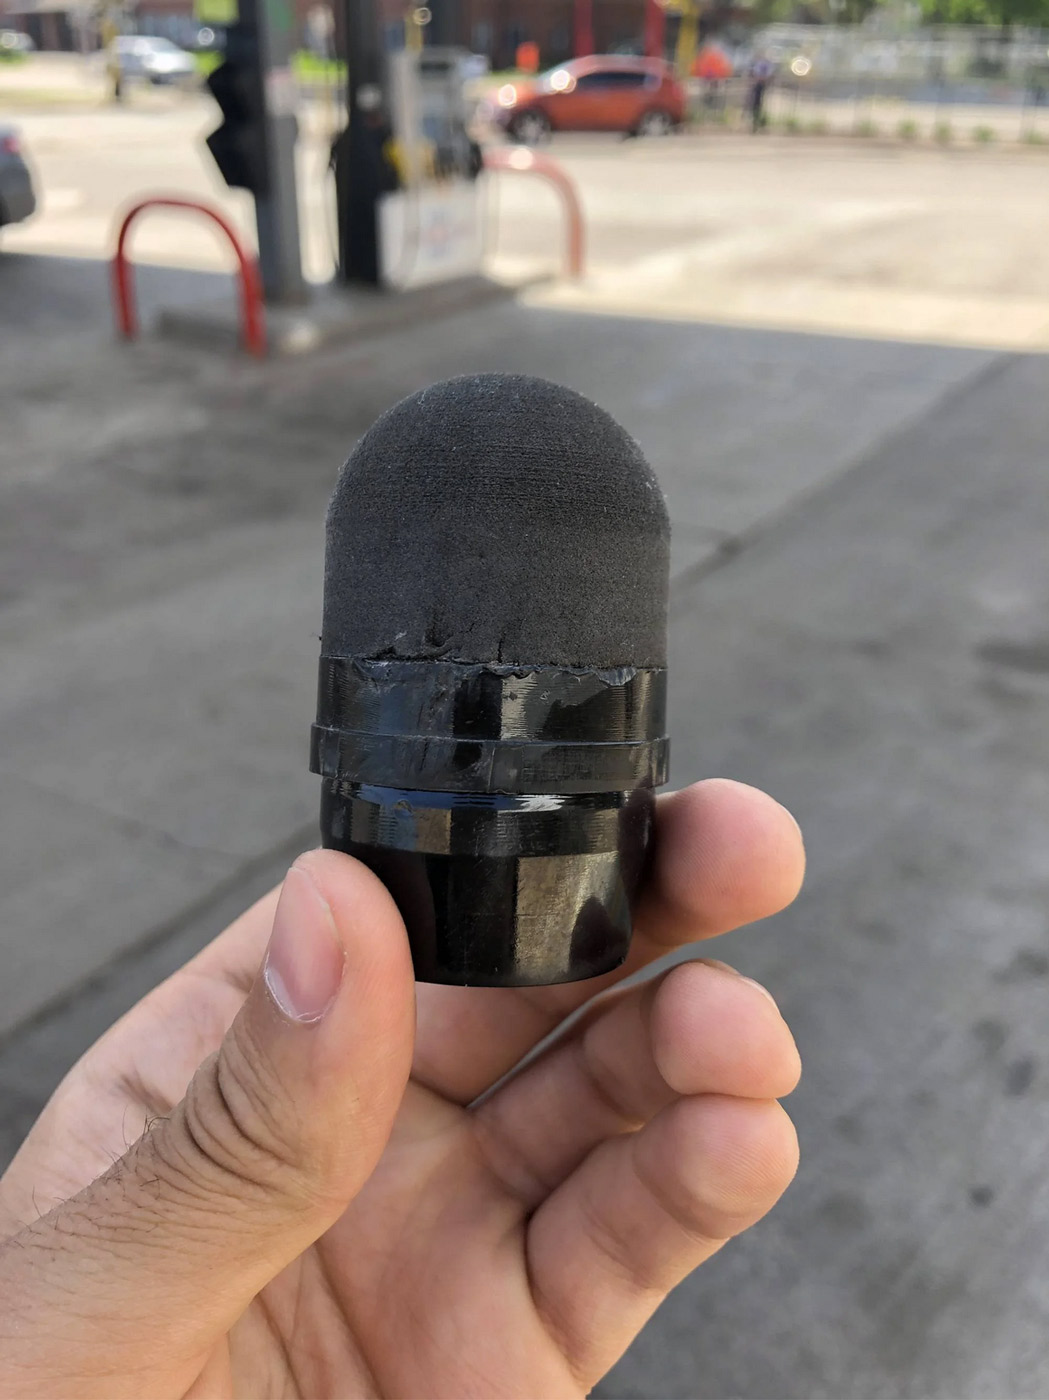
Rubber bullet.
A. By location
i. Large bruises to extremities
—Assess neurovascular status: Pulse, movement, sensation, and color. If there’s an anomaly, hospitalization is urgent.
—Palpate the bones for pinpoint pain and crepitus. Test each joint for range of motion. If you can’t rule out a fracture, get an x-ray within 24 hours. Suspected displaced fracture (shortening, etc.) requires an x-ray immediately.
—Rubber bullet impacts on muscles and tendons are not an emergency.
—Treat all bruises or hematomas with Arnica (Arnica montana) tincture or gel or Ground Daisy (Bellis perennis) tincture. Apply topically as soon as possible (actual tincture, not homeopathic).
—If plan is to hospitalize, wait before applying topical treatment: it may mask the seriousness of the condition.
—The most important thing is to immobilize the injury.
ii. Facial impact
—See an experienced medic.
—Palpate facial bones looking for pinpoint pain and crepitus indicating a fracture: orbitals, nose, zygomatic processes, mandible, chin, dental articulation (closure and alignment). Examine each tooth.
—For teeth that are broken, moving, unseated, or painful—see a dentist immediately. Conserve the tooth in milk, saline solution, or saliva. Ideally, the injured person would carry it in their mouth, taking care not to swallow.
Simple Neurological Face Assessment:
- Compare sensation on both sides of the forehead, cheeks, chin
- Movement: symmetry in smile, eyes symmetrical when tightly closed, eye movement (in both directions, vertically, horizontally, diagonally, inversion and aversion), pupils equal, round, reactive to light and accommodating.
iii. Eye impact
—Immediate hospitalization.
—Nothing by mouth: no food, no drink, no smoking.
—Rinse area with sterile saline solution.
—Have the person lie down and cover both eyes with sterile compresses.
iv. Nose impact
—Probable fracture.
—Get an x-ray.
—Epistaxis is bleeding from the nose; it can become a large hemorrhage.
- Pinch the bridge of the nose between two fingers, neck bent forward.
- Experienced medics can plug nostrils with gauze.
- For large amounts of blood loss, call an ambulance.
v. Thorax impact
—Pain may indicate a broken rib or lung damage. See an experienced medic.
—Rib fracture: pinpoint pain when palpated along the sternal line.
- Pain with deep inhalation.
- No respiratory distress or coughing.
- If it’s a simple fracture, treat with rest, painkillers to ensure deep breathing and avoid pneumonia, and topical comfrey (Symphytum officinale) salve 2 to 3 times daily.
—Pneumothorax: pain and cough, sometimes spitting blood.
- X-ray within 24 hours, or immediately if there is respiratory distress.
- Monitor respiratory rate. Normal is 15-20 breaths per minute.
vi. Abdominal impact
—See an experienced medic.
—Check for:
- Pain around the liver (right upper quadrant) and the spleen (left upper quadrant): signs of internal hemorrhage indicate danger. Get an ultrasound quickly.
- Blood in stool, abdominal pain, hard stomach area or fever, suspicion of peritonitis: immediate hospitalization.
vii. Both abdominal and thoracic impact
—Check for signs of internal hemorrhage (shock) such as pallor, weakness, diaphoresis (sweating), tachycardia with normal blood pressure. —Late signs include low blood pressure, altered mental status, loss of consciousness. —Watch them for several hours!
viii. Lower back impact
—Look for blood in the urine. Ideally get a urinalysis done to check for kidney damage.
ix. Testicular impact
—If bruising or excessive pain, get an emergency ultrasound.